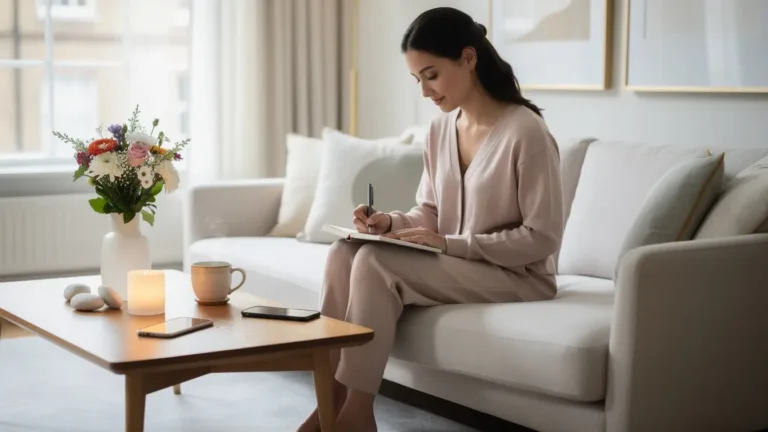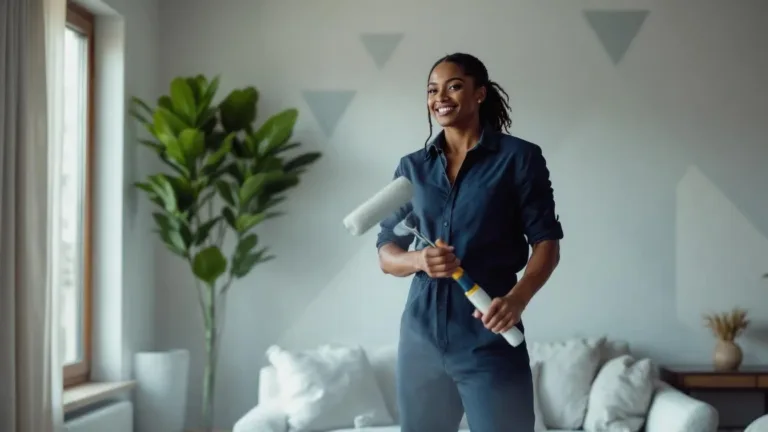
As January rolls in and we kick off the new year, many of us find ourselves staring at our walls, feeling like they’ve seen better days. After all those holiday gatherings, that post-festive fatigue hits harder than a winter storm. What if I told you that a simple brush and some savvy techniques could completely transform your space without breaking the bank? Let’s get real: a professional painter’s tips can take your DIY game to the next level. Think more polished edges, richer colors, and a vibe that screams cozy sophistication—all while being totally budget-friendly.
Highlights
- Invest in Quality Tools. ✨ You’ll get a flawless finish with the right brushes and rollers!
- Preparation is Key. 🛠️ Clearing and prepping your space can make a world of difference.
- Mastering Technique. 🎨 Cutting in and rolling in the right pattern ensures even coverage.
- Layer Like a Pro. 📏 Two coats are always better than one for durability!
- Maintain Your Masterpiece. 🧼 A little upkeep goes a long way in preserving your beautiful walls.
A surprising fact: Did you know a fresh coat of paint can increase your home’s value by up to 5%? 💰
Investing in Quality Tools
When I first embarked on my DIY painting journey, I used the cheapest brushes I could find. Big mistake. Picture this: I spent hours painting only to have streaks and tacky blobs greeting me when I stepped back. I quickly learned that a good brush or roller isn’t just a nice-to-have; it’s a game changer. A decent angled brush, priced around $15 to $25, can move with you to create smooth, clean edges. Seriously, when I switched from my dollar-store brushes to quality tools, it was like night and day.
For rollers, go for a solid 9-inch one paired with a medium nap cover. This combo rolls out the paint like a dream. Look for microfiber covers—they’re versatile and get smooth results on various surfaces. You’ll also want to invest in a *roller grid* to fit inside a 5-gallon bucket instead of using a standard paint tray; it minimizes spills and keeps you from constantly refilling.
Preparation is Key
Now, let’s talk prep work. Ever tried painting a cluttered room? It’s like trying to do yoga in a packed subway train. Clear your area! Not only does moving furniture reduce the risks of stains, but it also gives you the breathing room to see what you’re doing. Use canvas drop cloths to safeguard your flooring or any furniture that can’t be moved. They absorb paint spills better than plastic and won’t leak through.
Next, addressing wall imperfections is crucial. Spackle or wood filler for those pesky cracks and holes is non-negotiable. After repairing, sand them down until you have a smooth canvas to work on. Lastly, cleansing the walls with a TSP solution can eliminate grease and grime, providing a stronger base for your paint.
Mastering Technique
So, you’ve prepped your room, but let’s nail down the techniques next. One essential skill every DIY painter should master is “cutting in.” Essentially, this involves painting edges by hand instead of using painter’s tape, which can sometimes leave sticky residue. I remember the first time I cut in—it looked like I had a toddler doing my edges! It takes practice, but the crisp lines achieve that professional finish. Start low and gradually work your way to the ceiling to perfect those edges.
When using rollers, remember the “W” technique for even coverage. Roll the paint in a zigzag pattern, then fill it in. This method distributes paint across the surface nicely and minimizes those annoying lap marks. Trust me, once I adopted this trick, my walls transformed—no more dark stripes!
Layer Like a Pro
Let’s not skimp on the layers! One coat is rarely enough for that luxe look we all crave. Professional painters know to apply one coat of primer followed by at least two coats of paint. It’s like an ice cream sundae—one scoop is good, but two? Now you have a party! Allow sufficient drying time between coats to ensure nothing peels or bubbles. A little patience goes a long way in ensuring your walls not only look beautiful but last longer.
If you really want to make an impression, consider back-rolling after applying paint. This technique involves rolling with a dry roller after your first pass, leading to an even finish that shines.
Maintain Your Masterpiece
The first few weeks after painting can feel like showcasing a new outfit; you want to keep it glowing! Maintaining your newly painted walls requires basic upkeep. For me, having a little extra paint stashed away for touch-ups has become crucial. Each time I see a scuff mark, I’m thankful I didn’t throw the leftover paint out. Also, cleaning your walls occasionally prevents dirt buildup, keeping that fresh look alive longer.
Address minor issues as they arise—whether it’s peeling or staining—to prevent them from escalading into more extensive damage. It’s taken me years to learn that small fixes can save you a lot of headaches and money down the line.
Let’s Paint That Room!
Get ready to reinvigorate your living space. With these tried-and-true >wall painting tricks, you don’t need a hefty budget to achieve a high-end look. Each brush stroke can be a creative expression, and who doesn’t love a cozy, refreshed home? Dive into your new project and let your walls tell a story full of vibrance and personality. Come back for more home improvement tips and let’s keep transforming spaces together!
As you take on this DIY endeavor, remember: It’s not just about painting walls; it’s about creating a haven that reflects who you are. So, grab your gear and let’s get started! 🎉